Creating and Managing Participant Groups
Participant groups are an easy way to classify and save research participants for reuse in future research. Instead of manually entering email addresses each time, create organized groups based on user segments, research cohorts, or any classification that makes sense for your work.
When to Use Participant Groups
Participant groups are ideal for:
- Longitudinal research – Track the same participants across multiple studies over time
- Segment-based research – Organize participants by plan type, company size, role, or other attributes
- Panel management – Build a roster of engaged participants willing to provide ongoing feedback
- Follow-up studies – Quickly re-engage participants from previous research for deeper exploration
- Beta programs – Maintain a dedicated group of early adopters for continuous feedback
Creating Your First Participant Group
Step 1: Navigate to Groups
Click the Groups icon in the left-hand sidebar to access participant group management.
Groups icon in left sidebar
Step 2: Create a new group
- Click Create Your First Group
- Enter a descriptive group name (e.g., "Enterprise Beta Testers," "Power Users," "Churned Customers")
- Add an optional description to clarify the group's purpose or criteria
- Click Create Group
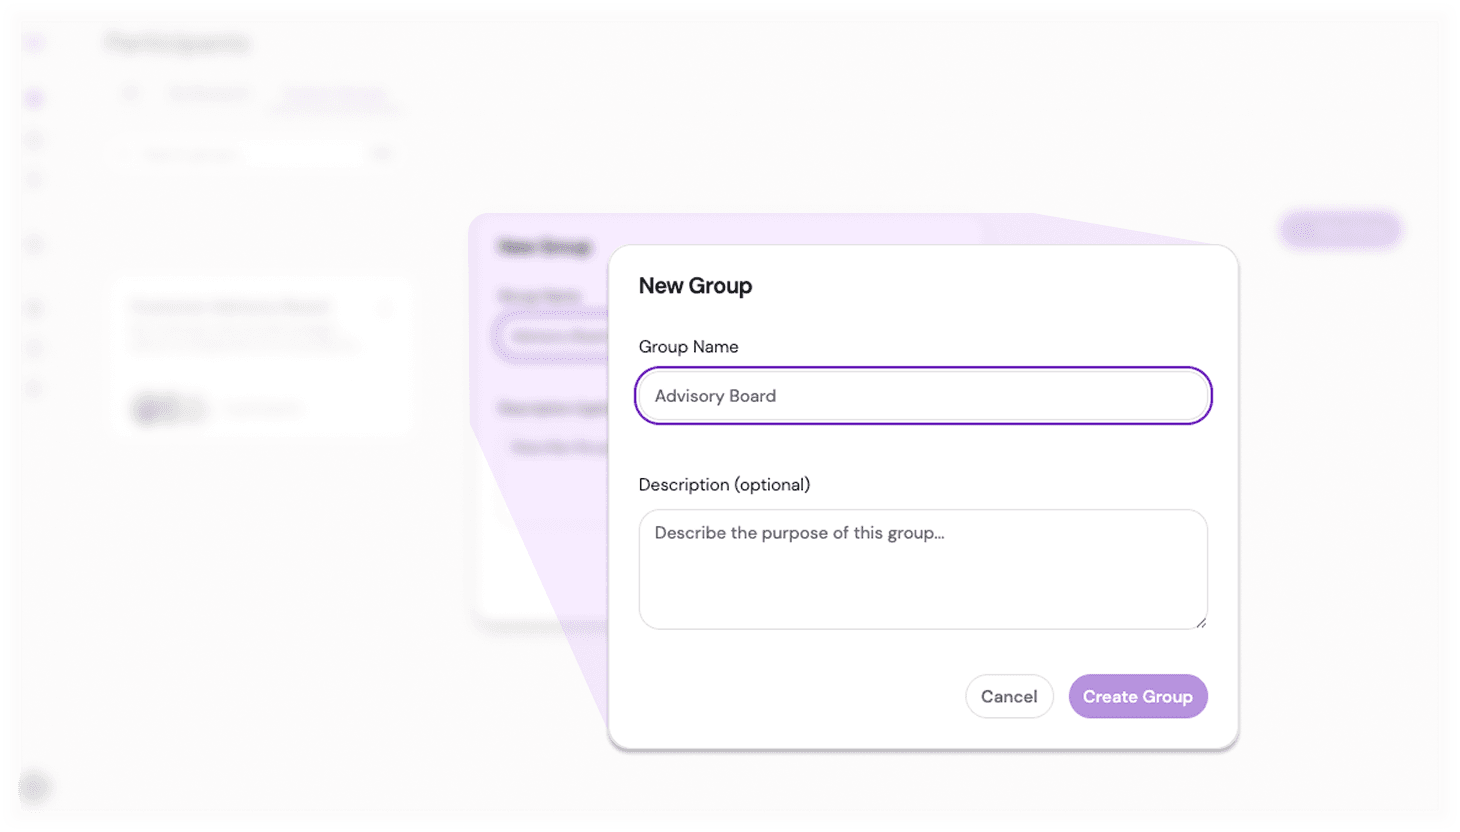
Group creation modal with name and description fields
Step 3: Add participants
Once your group is created, you can add participants in two ways:
Search for participants from previous research:
- Use the search field to find past research projects
- Select participants from those projects to add to your group
Add new participants by email:
- Type email addresses directly into the add field
- Press Enter or click Add after each email
Step 4: Update participant details (optional)
After adding participants via email, you can edit their information:
- Click the edit icon next to a participant
- Update their display name or other details
- Save changes
Step 5: Save your group
Click Add Participants to save all changes to your group.
Managing Your Participant Groups
List view
The list view for each group displays key information about every participant:
- Name – Display name of the participant
- Email – Contact email address
- Status – Current engagement status
- Conversations – Total number of interviews completed
- Last Activity – Most recent interaction date

Participant group list view
Viewing participant history
Click on any participant to see their complete conversation history. This enables you to:
- Review all previous interviews with that participant
- Understand their journey and evolving feedback over time
- Identify patterns or changes in their responses
- Prepare for follow-up research with relevant context
Using Groups to Invite Participants
Once you've created a group, using it for research invitations is straightforward:
- Create a new research outline or open an existing one
- Click Invite Participants
- Select the Email option
- Search for your group by name
- Select the group to add all members to your invitation list
- Compose your message
- Click Send

Selecting a participant group when inviting
All group members will receive invitations, saving you from manually entering each email address.
Best Practices
Use descriptive group names. Names like "Q4 Enterprise Users" or "Mobile App Beta Cohort" are more helpful than "Group 1" or "Test Users."
Add descriptions for context. Future you (or your teammates) will appreciate notes about who belongs in the group and why.
Update groups regularly. Remove participants who've churned, opted out, or are no longer relevant to keep your groups accurate.
Create segment-specific groups. Organize by meaningful attributes like user role, plan tier, product usage, or research cohort rather than arbitrary divisions.
Track group engagement. Monitor the "Last Activity" column to identify highly engaged participants worth prioritizing for future research.
Build longitudinal panels. Create dedicated groups for participants willing to provide ongoing feedback, making it easy to conduct follow-up research.
Document group criteria. Use the description field to note any specific screening criteria or characteristics that define group membership.
Common Pitfalls & Fixes
Duplicate participants across groups → This is fine and often useful. The same person can belong to multiple groups (e.g., "Power Users" and "Enterprise Customers").
Forgetting to update display names → If you add participants by email only, their email address becomes their display name. Take a moment to edit names for better clarity in reports.
Creating too many narrow groups → Balance specificity with usability. Ten highly specific groups may be harder to manage than five well-organized ones.
Not leveraging past research → When creating groups, always check previous research first. You may already have ideal participants who've demonstrated engagement.
Outdated group membership → Regularly audit groups to remove participants who are no longer relevant or have requested to be removed from research.